When it comes to installing a new thermostat in your home, it’s important to understand the wiring diagram to ensure the proper connection. A 4 wire thermostat wiring diagram is commonly used for systems that have a separate heating and cooling system. This diagram will show you how to connect the wires to your thermostat correctly.
Before you begin the installation process, make sure to turn off the power to your HVAC system to prevent any accidents. It’s also a good idea to take a picture of the current wiring setup before disconnecting anything, so you have a reference point.
 Easy To Follow Carrier Edge Thermostat Wiring Diagram (wiringpictures.net)
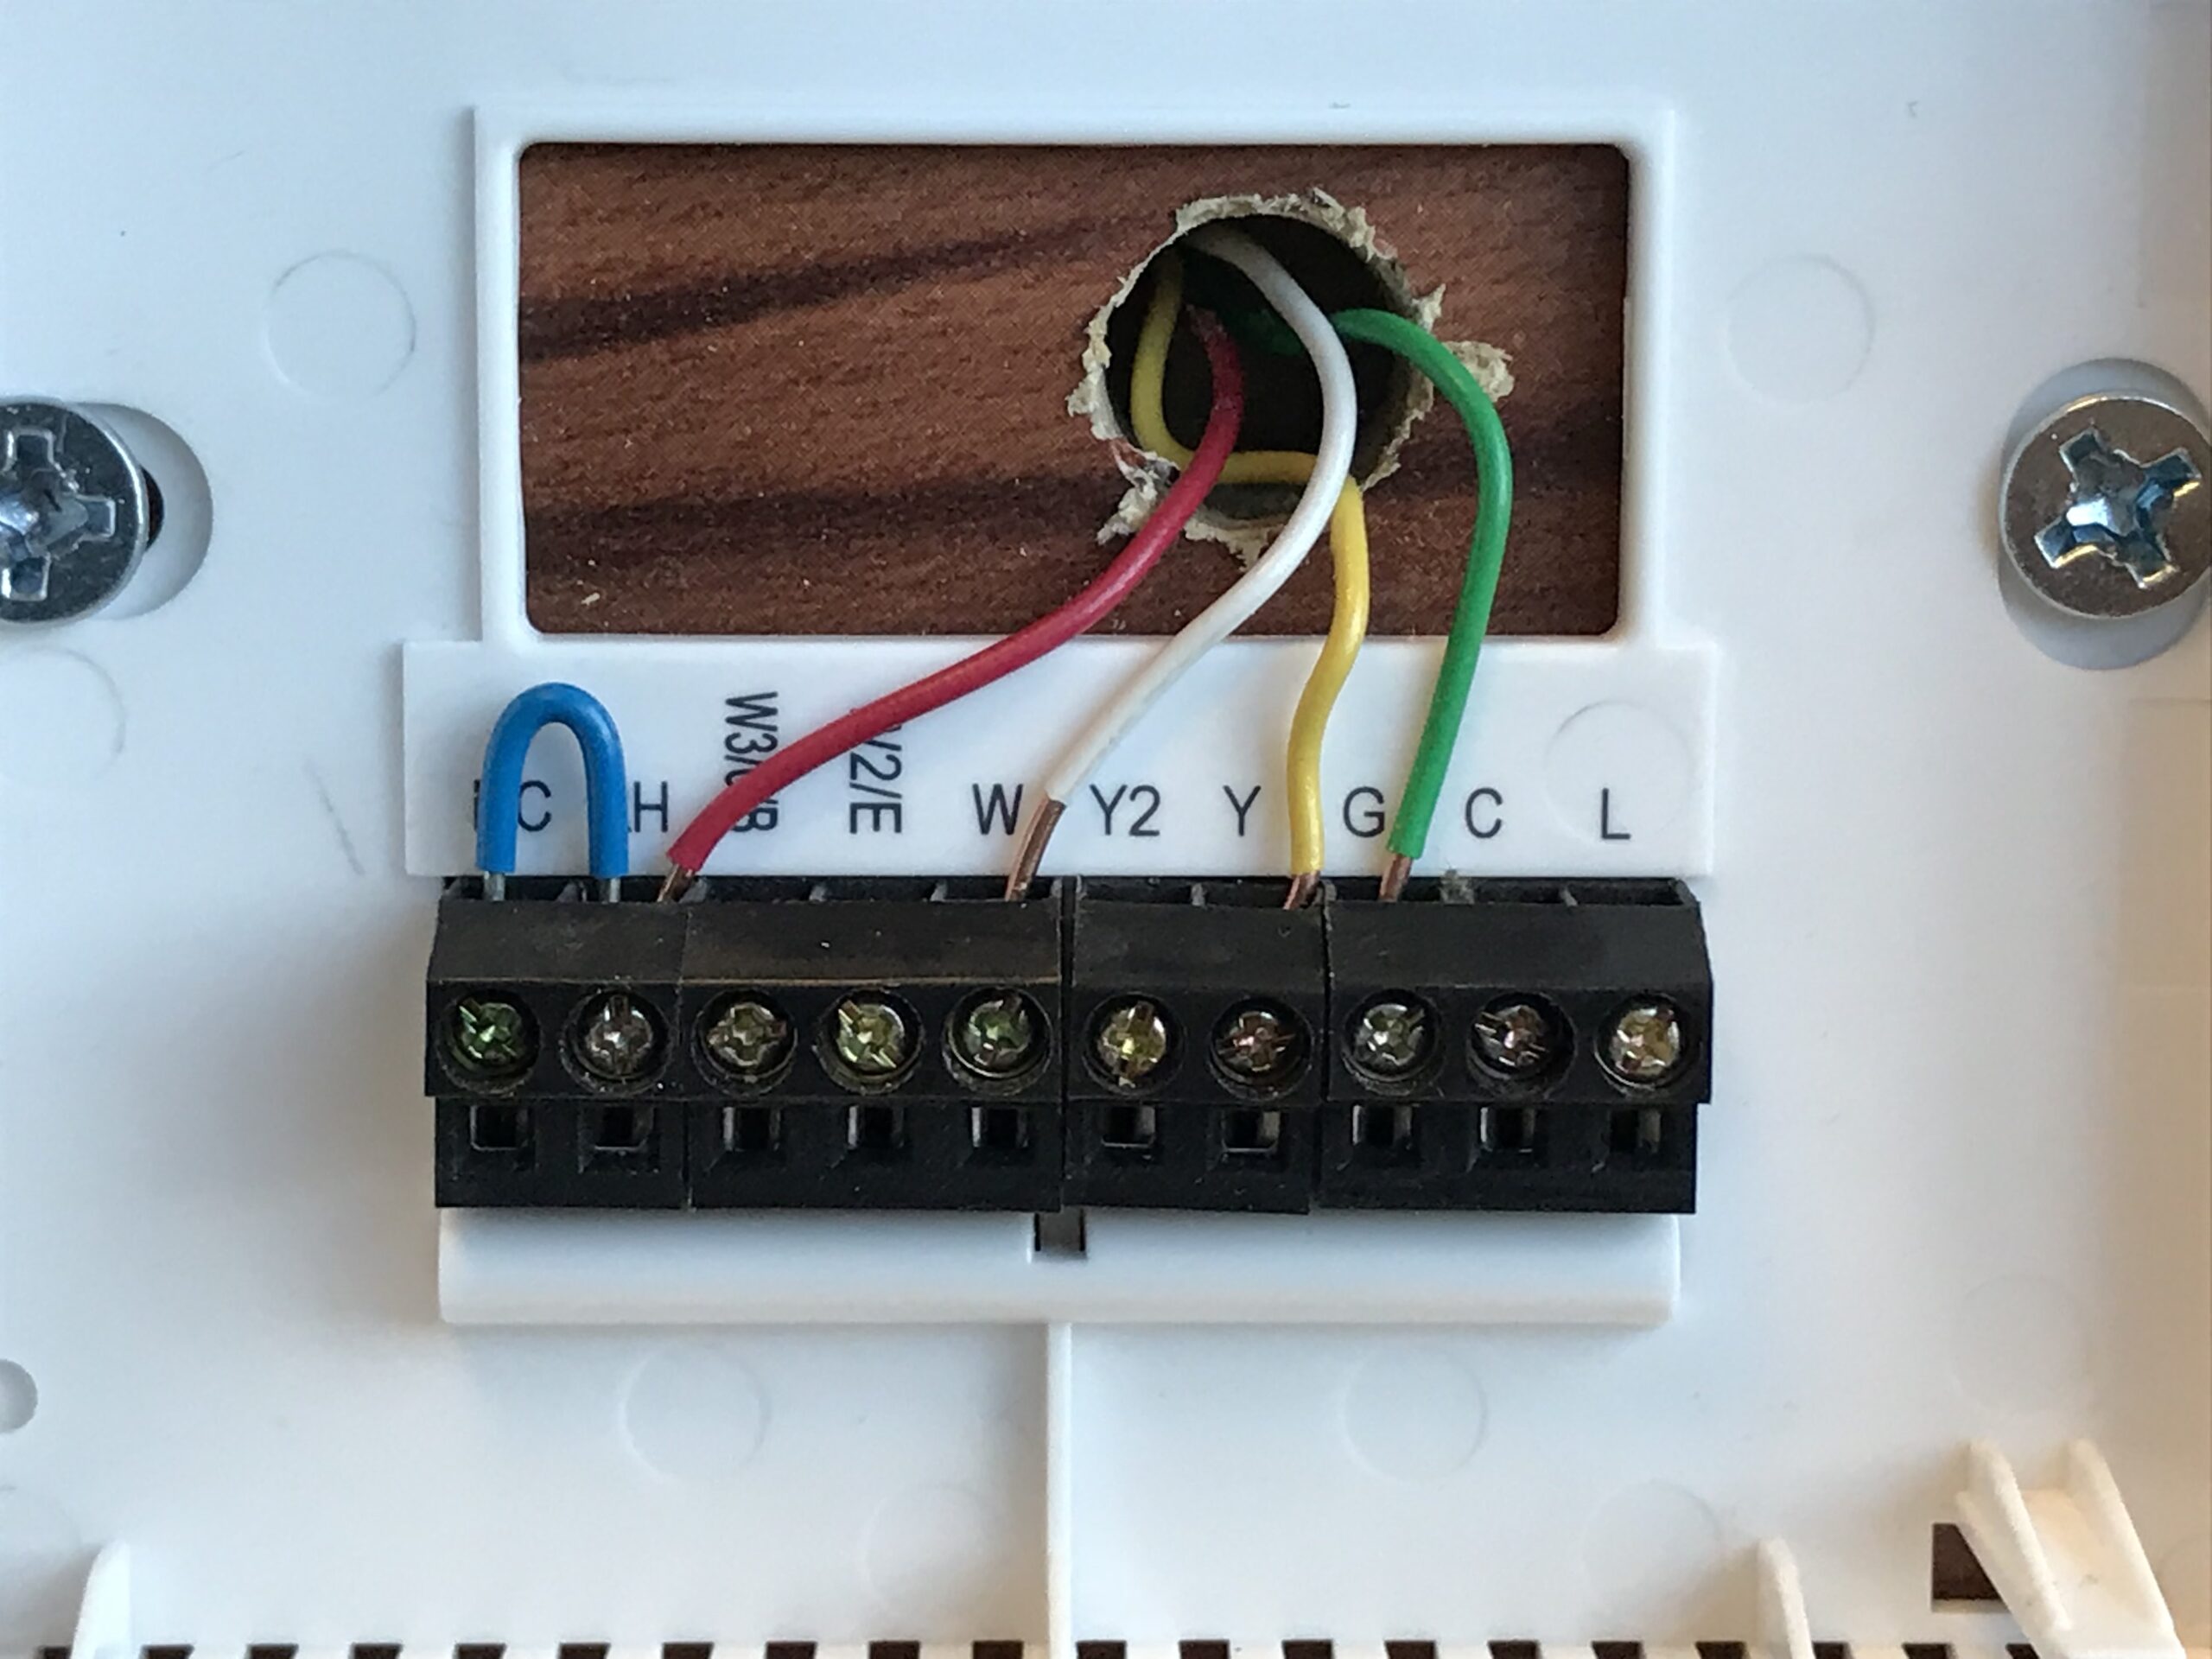
Typically, the 4 wire thermostat will have a red wire for power, a white wire for heating, a yellow wire for cooling, and a green wire for the fan. The red wire is connected to the R terminal, the white wire to the W terminal, the yellow wire to the Y terminal, and the green wire to the G terminal on the thermostat.
Once you have connected the wires to the thermostat, you can then connect the other end of the wires to the corresponding terminals on your HVAC system. Make sure to double-check the connections to ensure they are secure and properly attached.
After all the wires are connected, you can turn the power back on to your HVAC system and test the thermostat to make sure it’s functioning correctly. You can set the temperature higher or lower to see if the heating and cooling systems are working properly.
Overall, understanding the 4 wire thermostat wiring diagram is crucial for a successful installation. If you’re unsure about any part of the process, it’s always best to consult a professional to avoid any potential issues. With the right knowledge and proper installation, you can enjoy a comfortable and efficient HVAC system in your home.