Ceiling fans are a convenient and energy-efficient way to cool down a room. However, installing a ceiling fan can be a bit tricky, especially when it comes to the wiring. One common type of wiring for ceiling fans is the 4-wire setup, which allows for separate control of the fan and light.
Understanding the wiring diagram for a 4-wire ceiling fan can help make the installation process much smoother. By following the diagram carefully, you can ensure that your ceiling fan is wired correctly and functions properly.
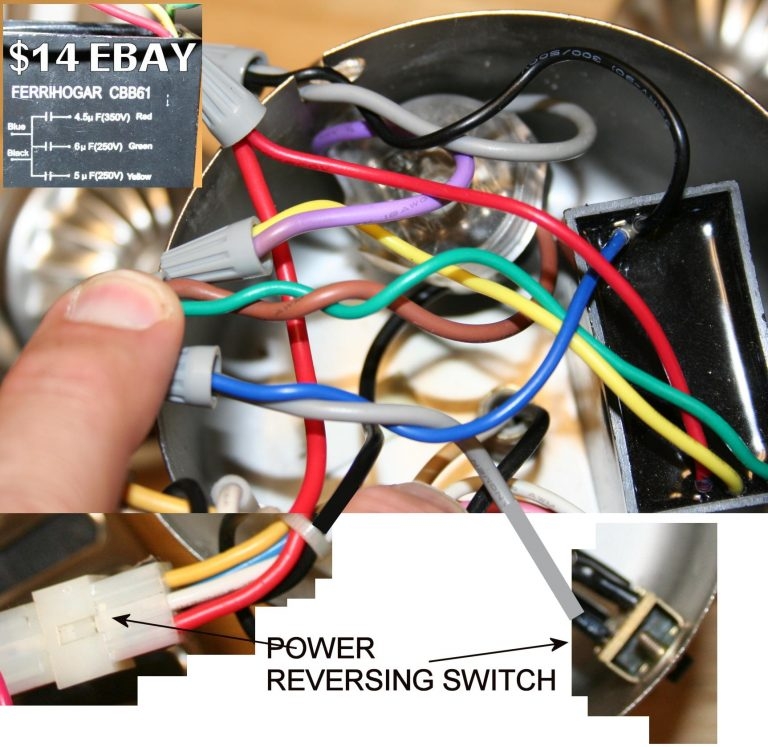
 4 Wire Ceiling Fan Capacitor Wiring Diagram Database Wiring Diagram (www.aiophotoz.com)
First, it’s important to identify the wires coming from your ceiling. In a 4-wire setup, you will typically have a black wire for the fan, a blue wire for the light, a white neutral wire, and a green or bare copper ground wire. Make sure to turn off the power before beginning any work.
Next, consult the wiring diagram provided with your ceiling fan. This diagram will show you how to connect each wire to the corresponding terminal on the fan. Typically, the black wire will connect to the fan motor, the blue wire will connect to the light kit, the white wire will connect to the neutral terminal, and the green or bare copper wire will connect to the ground terminal.
Once you have connected all the wires according to the diagram, secure the connections with wire nuts and electrical tape. Double-check your work to make sure everything is properly connected and insulated. Finally, turn the power back on and test the fan and light to ensure they are working correctly.
With the help of a clear and accurate wiring diagram, installing a 4-wire ceiling fan can be a straightforward task. By following the diagram and taking the proper safety precautions, you can enjoy the comfort and convenience of a ceiling fan in no time.