When it comes to installing a Honeywell thermostat, it’s important to have a clear understanding of the wiring diagram. This diagram is crucial for ensuring that the thermostat is installed correctly and operates efficiently. By following the wiring diagram provided by Honeywell, you can easily connect the thermostat to your HVAC system and set it up for optimal performance.
Before you begin the installation process, make sure to turn off the power to your HVAC system to prevent any accidents. It’s also a good idea to take a picture of the current wiring configuration so you can refer back to it if needed. Once you have these precautions in place, you can start following the Honeywell thermostat wiring diagram.
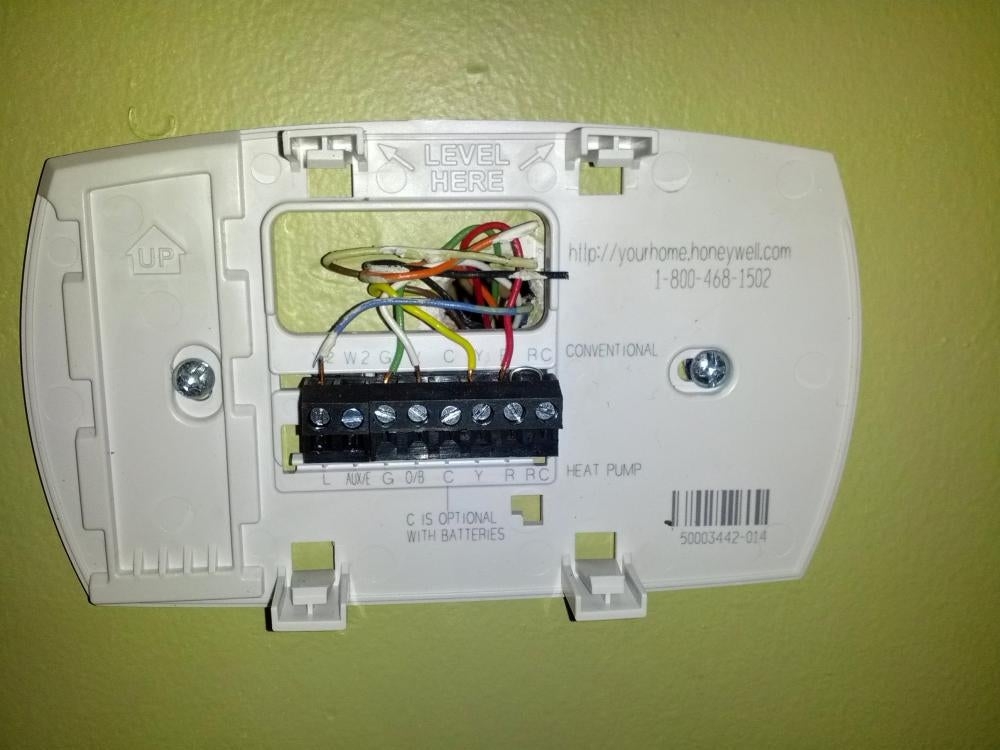
 Honeywell Heat Pump Thermostat Wiring Diagram Sample Wiring Diagram (faceitsalon.com)
Honeywell Thermostat Wiring Diagram
The wiring diagram for a Honeywell thermostat typically consists of letters and numbers that represent the different wires that need to be connected. These wires include the R wire, which is the power wire, the W wire, which is the heating wire, the Y wire, which is the cooling wire, and the G wire, which is the fan wire. By carefully connecting these wires to the corresponding terminals on the thermostat, you can ensure that your HVAC system functions properly.
It’s important to note that the wiring diagram may vary depending on the model of your Honeywell thermostat. Be sure to refer to the specific diagram provided in the thermostat’s installation manual to ensure that you are following the correct instructions. If you are unsure about any part of the wiring process, it’s always best to consult a professional HVAC technician for assistance.
Once you have successfully wired your Honeywell thermostat according to the diagram, you can power on your HVAC system and set the thermostat to your desired temperature settings. Make sure to test the heating and cooling functions to ensure that they are working properly. If you encounter any issues, refer back to the wiring diagram or seek help from a professional.
In conclusion, understanding the Honeywell thermostat wiring diagram is essential for a successful installation process. By following the diagram provided by Honeywell and carefully connecting the wires to the correct terminals, you can ensure that your thermostat operates efficiently and keeps your home comfortable. If you have any doubts or concerns, don’t hesitate to seek help from a qualified HVAC technician.