When it comes to installing a tachometer in your vehicle, it’s important to understand the wiring diagram to ensure proper installation. A tachometer is a device that measures the rotation speed of the engine’s crankshaft, which helps you monitor the performance of your vehicle. By following the wiring diagram, you can easily connect the tachometer to your vehicle’s ignition system and get accurate readings.
Before you begin the installation process, make sure to gather all the necessary tools and materials, including the tachometer, wiring harness, connectors, and electrical tape. It’s also important to refer to the manufacturer’s instructions for specific details about your tachometer model.
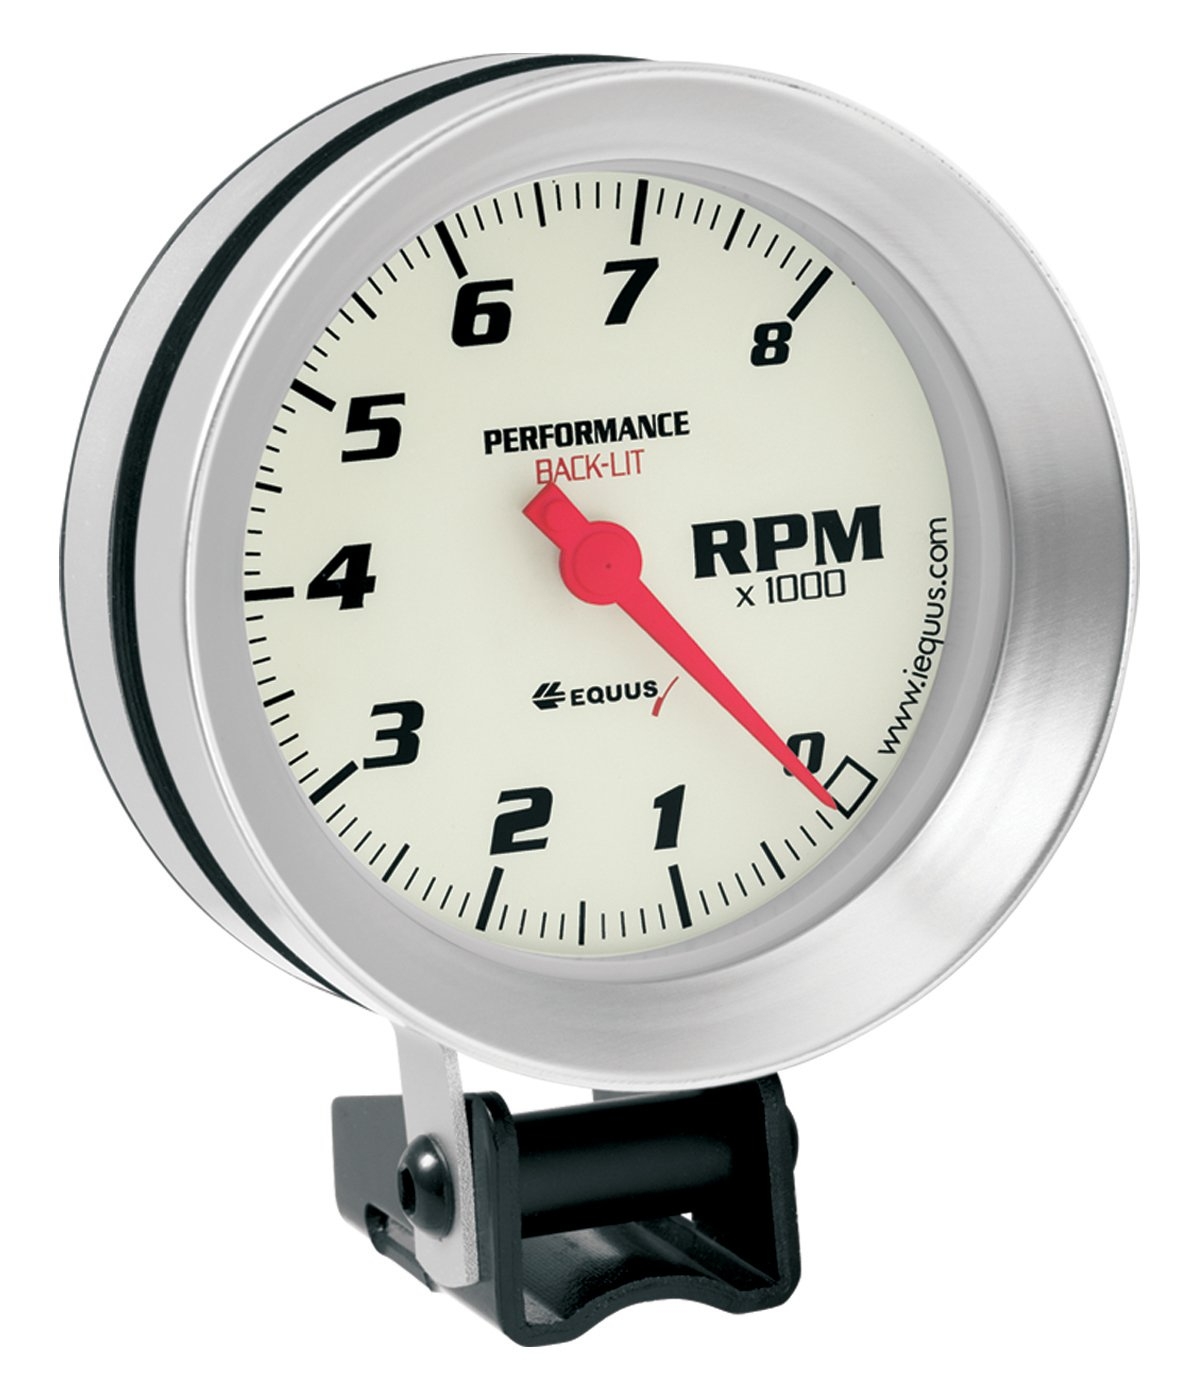
 Suzuki Outboard Tachometer Wiring Diagram (stewart-switch.com)
Typically, the wiring diagram for a tachometer includes connections to the ignition switch, tach signal wire, ground wire, and lighting. The ignition switch provides power to the tachometer, the tach signal wire connects to the vehicle’s ignition coil or distributor, the ground wire ensures proper grounding for accurate readings, and the lighting connection allows the tachometer to illuminate in low-light conditions.
When connecting the tach signal wire, it’s essential to identify the correct wire from the ignition coil or distributor. This wire is responsible for sending the engine’s RPM signal to the tachometer, so it’s crucial to make a secure connection to ensure accurate readings. Additionally, make sure to use appropriate connectors and electrical tape to secure the connections and prevent any potential issues.
Once you have successfully connected all the wires according to the wiring diagram, test the tachometer to ensure it’s functioning correctly. Start the engine and observe the tachometer readings to verify that the installation was successful. If you encounter any issues, double-check the wiring connections and consult the manufacturer’s instructions for troubleshooting tips.
In conclusion, understanding the tachometer wiring diagram is essential for a successful installation in your vehicle. By following the instructions and making secure connections, you can enjoy accurate RPM readings and monitor your vehicle’s performance effectively. Remember to refer to the manufacturer’s guidelines and seek professional help if needed to ensure a seamless installation process.