Installing a rear view camera on your vehicle can greatly improve safety and convenience while driving. However, it is important to properly wire the camera to ensure it functions correctly. Here is a guide on how to wire a rear view camera effectively.
Before starting the wiring process, make sure to carefully read the instructions that come with your rear view camera. It is essential to understand the wiring diagram provided to avoid any mistakes during installation.
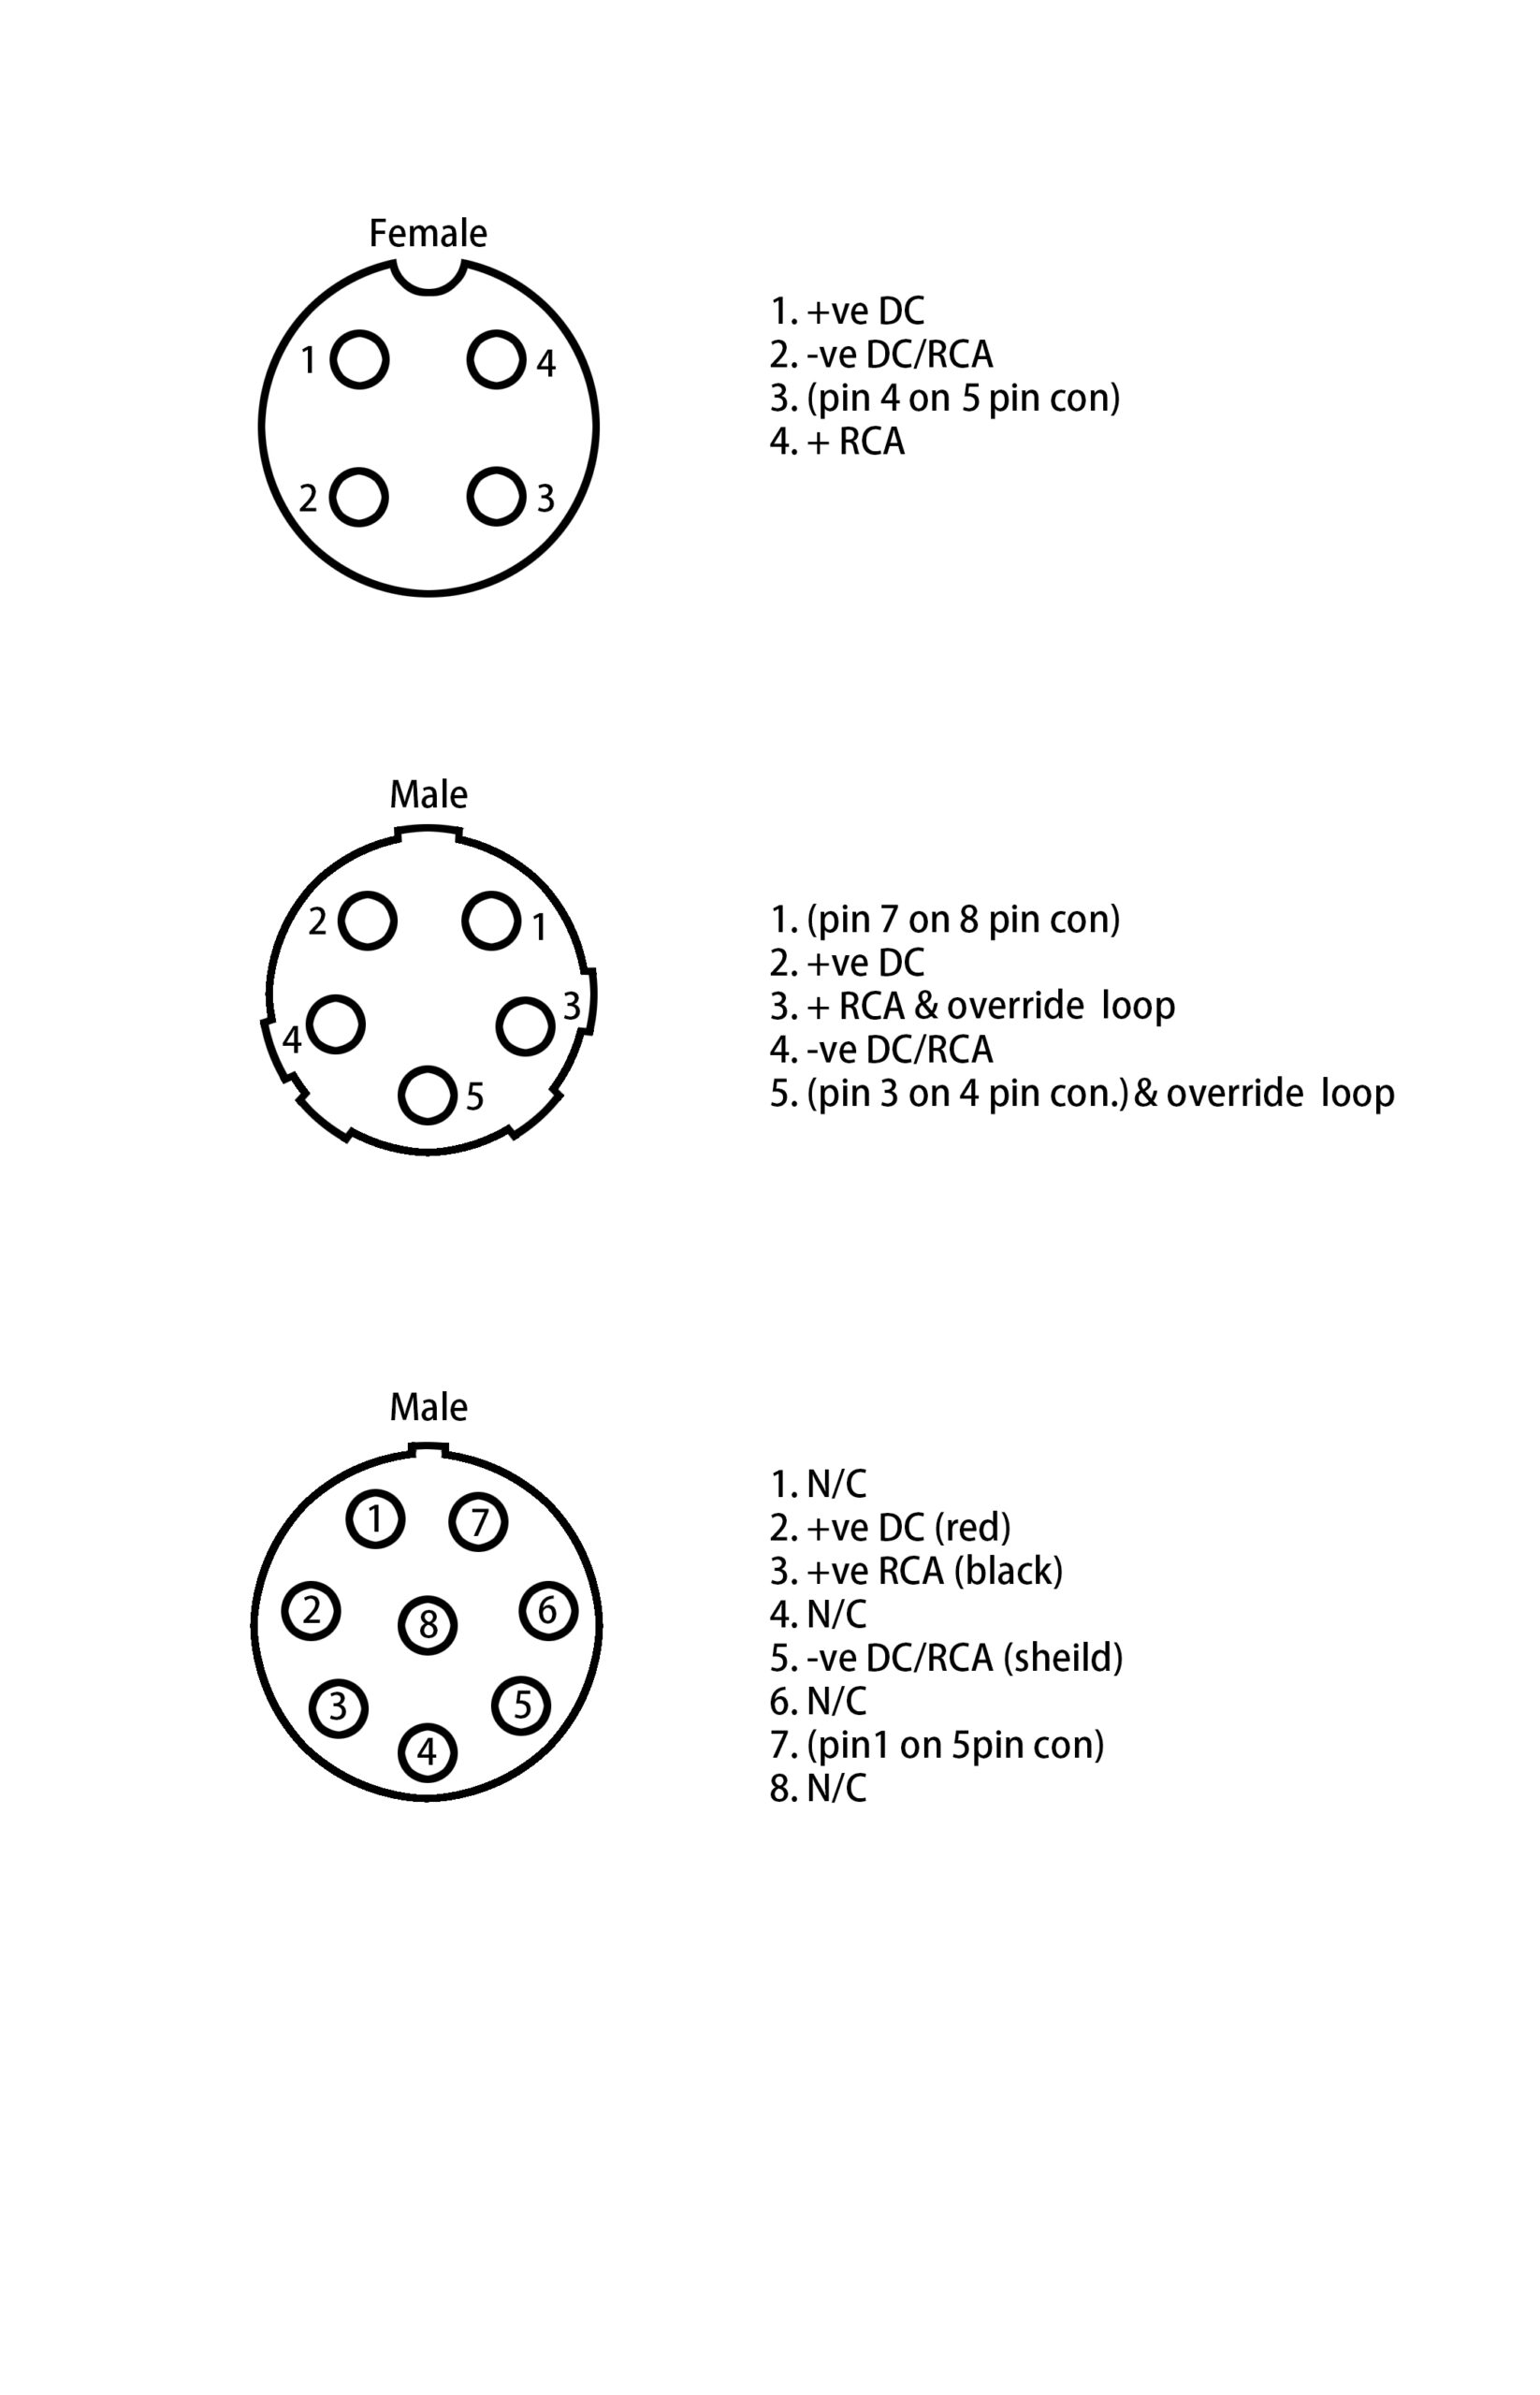
 DIAGRAM Wiring Diagram Car Rear View Camera Installation Guide FULL (159.223.119.28)
First, locate the power source for the camera. This can typically be found in the rear of the vehicle near the license plate light. Connect the camera’s power wire to the vehicle’s reverse light wire using a T-tap connector. This will allow the camera to turn on automatically when the vehicle is put into reverse.
Next, identify the video wire of the camera. This wire is usually yellow and should be connected to the video input on the display unit in the front of the vehicle. Make sure to secure the connections with electrical tape or heat shrink tubing to prevent any loose connections.
If your rear view camera has additional features such as parking guidelines or night vision, make sure to connect the necessary wires according to the wiring diagram provided. These features can enhance the functionality of the camera and improve your driving experience.
After all the wires are properly connected, test the rear view camera to ensure it is functioning correctly. Put the vehicle in reverse and check the display unit to see if the camera’s feed is clear and without any distortions. Make any necessary adjustments to the wiring if needed.
In conclusion, wiring a rear view camera may seem daunting at first, but with the right tools and knowledge, it can be a straightforward process. By following the wiring diagram provided with your camera and ensuring all connections are secure, you can enjoy the added safety and convenience of having a rear view camera on your vehicle.