Installing a Ring Doorbell can provide added security and convenience to your home. However, knowing how to properly wire the doorbell is essential to ensure it functions correctly. By following a wiring diagram specific to the Ring Doorbell model you have, you can easily set up your device and start using it with ease.
Before starting the wiring process, it is important to turn off the power to the existing doorbell. You can do this by flipping the breaker switch in your electrical panel. This will prevent any accidents or shocks while working on the wiring.
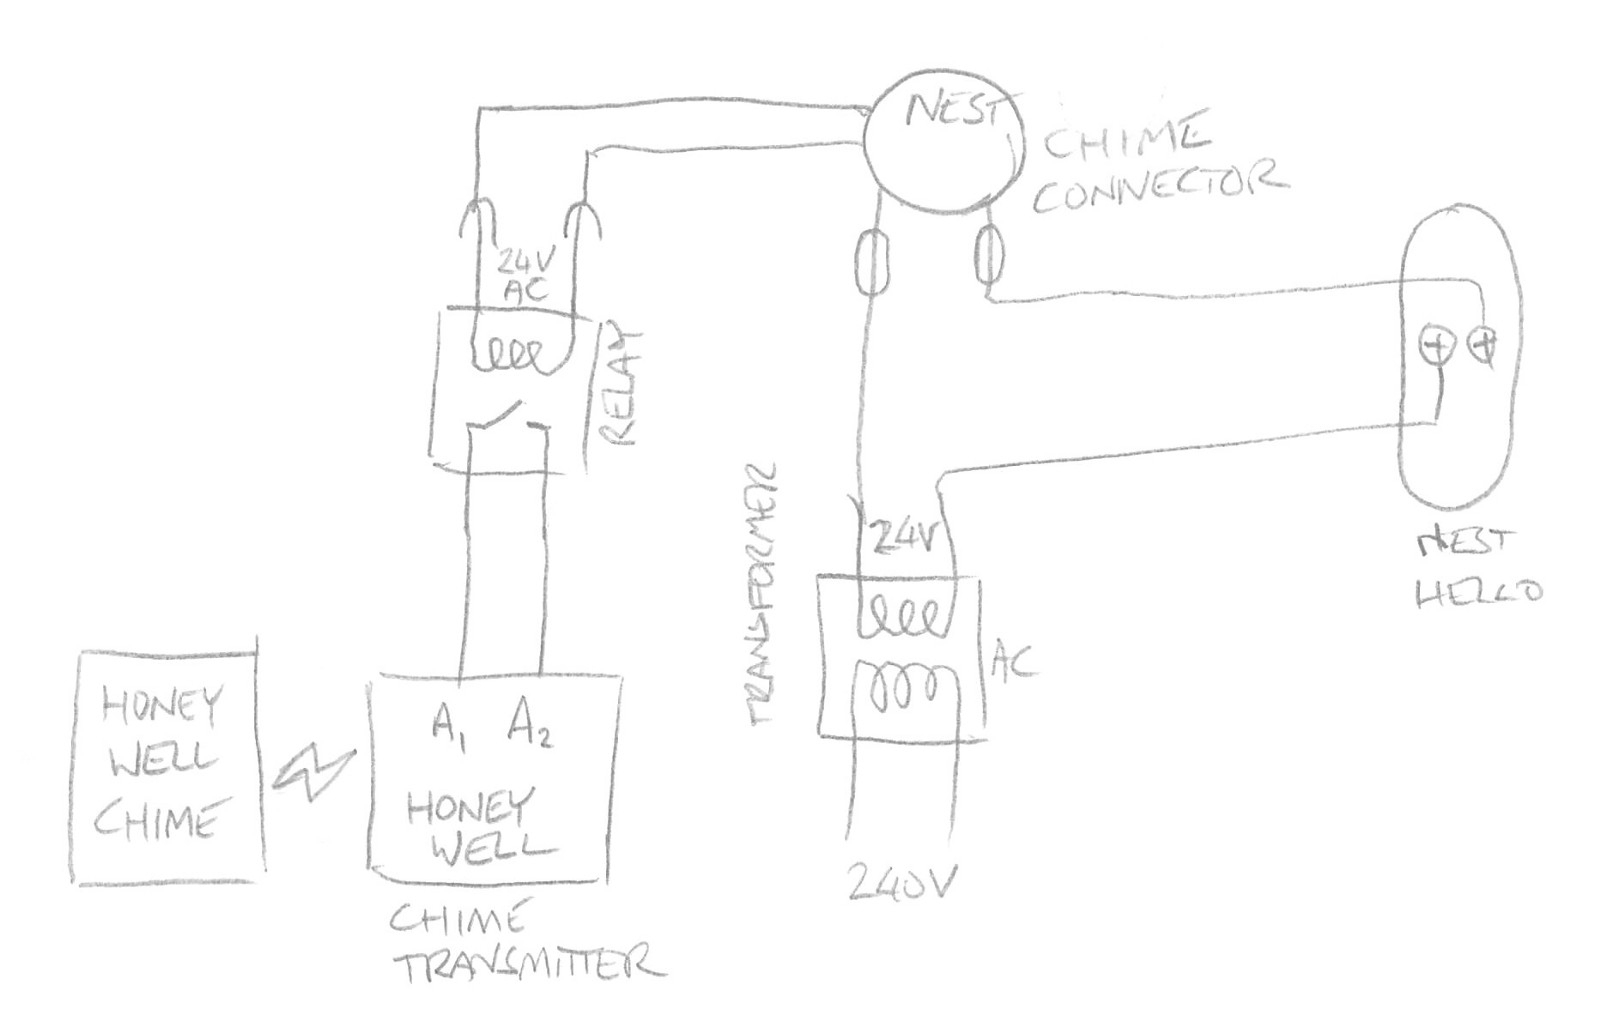
 Wiring Diagram For Ring Doorbell Pro (wiringmaster.com)
Wiring Steps:
1. Begin by removing your existing doorbell and disconnecting the wires. Make a note of which wire is connected to which terminal on the old doorbell.
2. Next, refer to the wiring diagram provided by Ring for your specific model. Typically, you will need to connect the wires to the terminals on the Ring Doorbell, following the color-coding or labeling provided.
3. Once the wires are securely connected, you can mount the Ring Doorbell to the wall using the provided screws and mounting bracket. Make sure it is level and secure before proceeding.
4. Finally, turn the power back on and test the Ring Doorbell to ensure it is functioning properly. You may need to download the Ring app on your smartphone to complete the setup process and customize settings.
By following these steps and referring to the wiring diagram specific to your Ring Doorbell model, you can easily install and set up your device in no time. Enjoy the added security and convenience that a Ring Doorbell can provide to your home.
In conclusion, wiring your Ring Doorbell correctly is crucial for its proper functioning. By following the provided wiring diagram and taking necessary safety precautions, you can easily install your device and enjoy the benefits it offers. Upgrade your home security today with a Ring Doorbell!