When it comes to installing a 3 way light switch, having a clear wiring diagram is essential to ensure that everything is connected correctly. A 3 way switch allows you to control a single light from two different locations, making it a convenient option for larger rooms or staircases.
Understanding how to wire a 3 way switch can be a bit confusing at first, but with the right diagram and some basic knowledge of electrical wiring, you can easily tackle this project on your own.
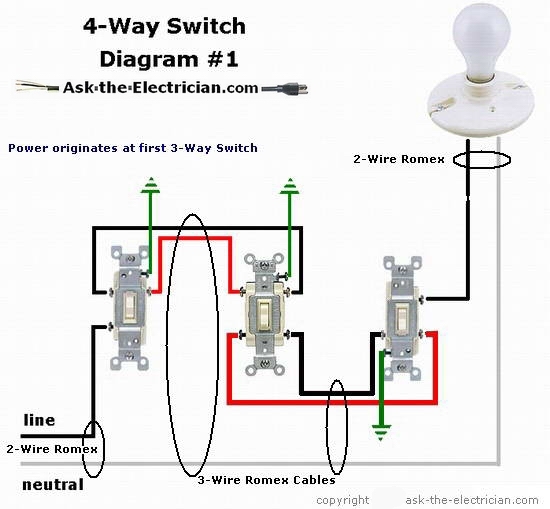
 One Way Switch Diagram (www.chanish.org)
Here is a basic 3 way light switch wiring diagram to help guide you through the process:
1. Start by turning off the power to the circuit at the breaker box. This is crucial for your safety while working on the wiring.
2. Connect the black wire from the power source to the common terminal of the first switch. This is typically the dark-colored screw on the switch.
3. Run a 3-wire cable between the first and second switches, connecting the travelers (usually the brass-colored screws) on each switch.
4. Connect the black wire from the light fixture to the common terminal of the second switch.
5. Finally, connect the white wire from the power source, the white wire from the light fixture, and the white wire from the 3-wire cable together with a wire nut.
Once you have completed the wiring according to the diagram, you can turn the power back on and test the switches to ensure they are working properly. If you encounter any issues, double-check your connections and consult the diagram to troubleshoot.
By following a clear 3 way light switch wiring diagram and taking the necessary safety precautions, you can successfully install a 3 way switch in your home. Remember to always turn off the power before working on any electrical projects and if you are unsure, consult a professional electrician for assistance.